Table of Contents
- What Makes a Flash Card File Production-Ready?
- Organize card fronts, backs, sequence, and answer content
- Define the deck count and packaging unit
- How to Choose Flash Card Size, Stock, and Finish
- Match card thickness and surface to classroom or retail use
- Compare lamination and other protective finishing options
- How to Prevent Front-to-Back Alignment Problems
- Set up bleed, safe areas, and registration allowances
- Which Packaging Options Work for Custom Card Decks?
- Compare tuck boxes, bands, wrapped bundles, and custom packing requests
- How to Proof and Inspect an Educational Card Deck
- Check readability, color consistency, sequence, count, and edge quality
- What Should You Include in a Flash Card Printing Quote Request?
- FAQ: Custom Flash Card Printing
- What file format is best for a custom flash card deck?
- Can a printer package and kit flash cards for distribution?
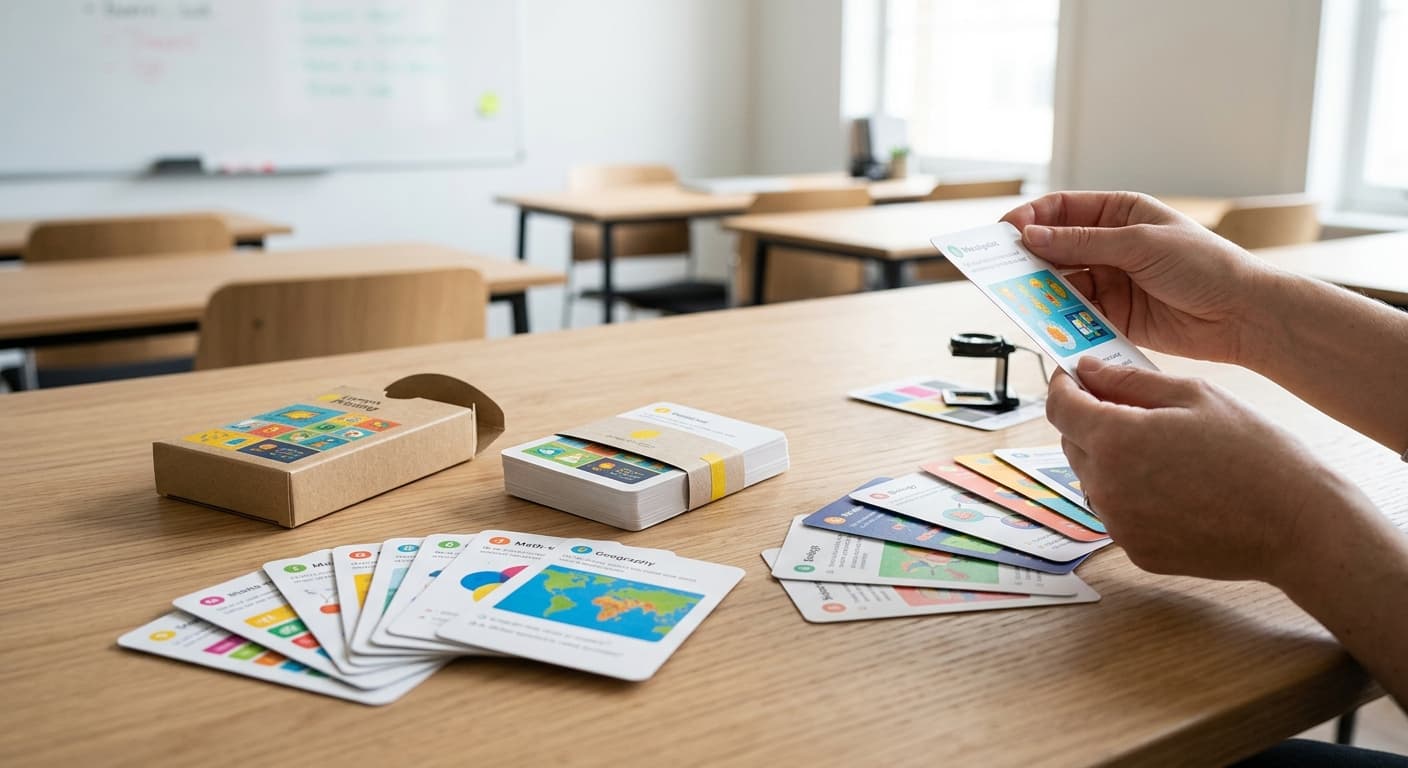
Successful custom flash card printing depends on more than placing artwork on both sides of a sheet. This guide explains how to prepare card files, choose stock and finishing, prevent front-to-back errors, select packaging, inspect the finished deck, and request an accurate manufacturing quote.
What Makes a Flash Card File Production-Ready?
Custom flash card printing is production-ready when every card has a controlled front-and-back pair, a defined sequence, a confirmed finished size, and clear packaging instructions. The printer should not need to guess which answer belongs to which question or how the reverse side should be turned.
For educational card printing, content accuracy is as important as color and trimming. A file that looks correct on screen can still create problems if backs are out of order, answer text is too close to the trim edge, or the requested deck count is unclear. Treat the file as both artwork and a production map.
- State the card size as the finished, trimmed size.
- Identify the number of unique cards and the number of cards in each deck.
- Explain whether the artwork is full color on both sides or uses a different front and back treatment.
- Specify stock, coating or lamination, corners, packaging, and any inserts.
- Supply a contact sheet or reference list so the sequence can be checked before printing.
Organize card fronts, backs, sequence, and answer content
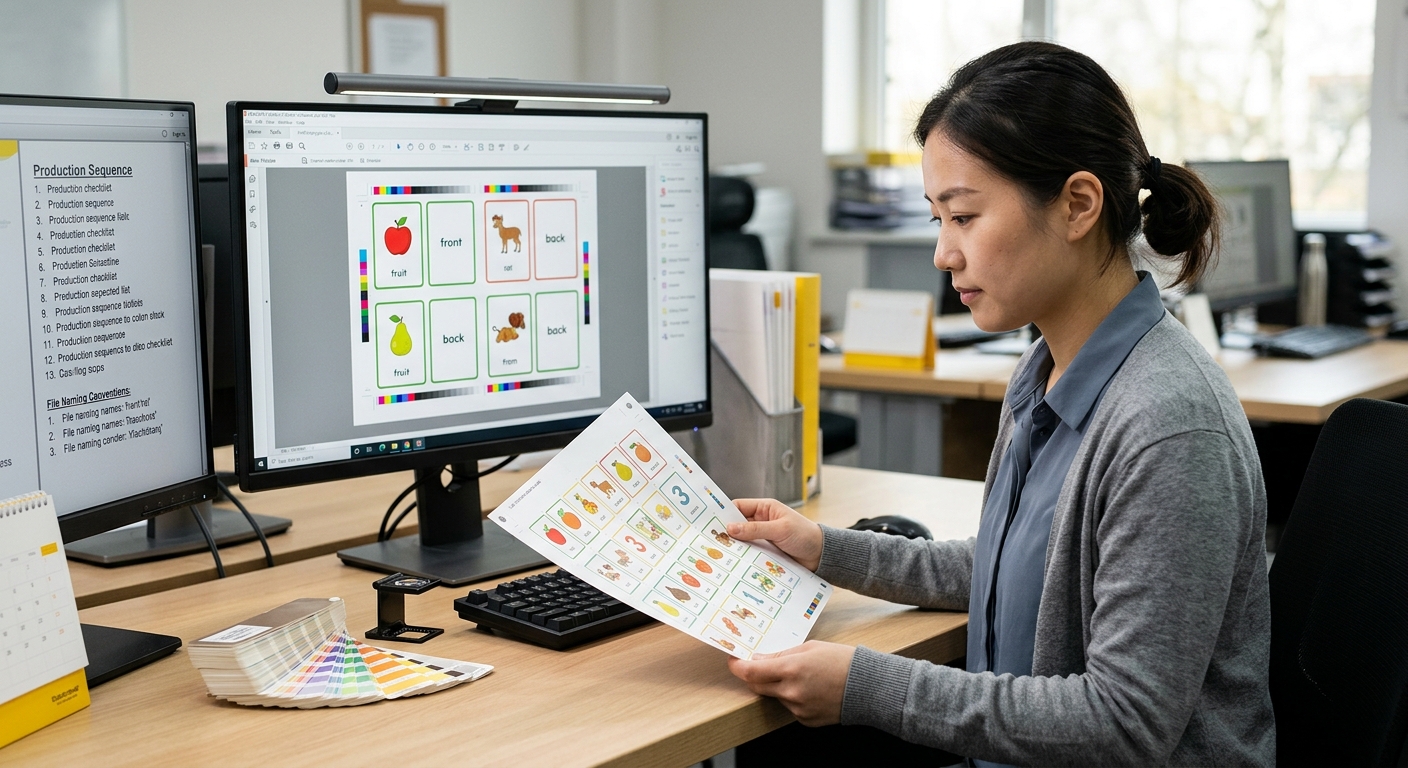
Put the card fronts and backs in an explicit order that a prepress operator can verify. For a simple two-sided PDF, one possible structure is front 1, back 1, front 2, back 2. Other workflows use all fronts followed by all backs, so confirm the printer’s preferred page order and turning direction before exporting.
Labeling helps prevent content errors. A spreadsheet or reference PDF can show the card number, front prompt, back answer, category, and whether the card belongs to a particular deck. Keep answer content in a consistent hierarchy: for example, term on the front and definition, pronunciation, example, or illustration on the back.
For double sided card printing, also state whether the reverse should read when the card is turned on its long edge or short edge. A small instruction such as flip on long edge can prevent an entire run from being printed with inverted backs. Review fonts, image resolution, color mode, and bleed using this print-ready artwork preparation guide.
Define the deck count and packaging unit
Define both the number of cards in one deck and the number of finished decks required. For example, 60 unique cards packed as 50 cards per deck is a different production instruction from 60 cards per deck, even if the same artwork is used.
State whether every deck is identical, whether there are several language or subject versions, and whether instruction cards or separators are included. Also identify the packing unit: one deck per box, multiple decks per carton, or mixed cartons by SKU. This information affects collation, counting, packaging dimensions, carton labeling, and final inspection.
How to Choose Flash Card Size, Stock, and Finish
Choose the card format from the way learners will hold, read, write on, store, and transport the cards. Size, paper weight, surface, and protective finishing work together, so selecting only one specification can produce an unsuitable deck.
Common planning formats include compact study cards, larger classroom cards, and custom sizes that match an existing box or learning kit. A larger card can improve readability for group instruction but increases the package footprint. A smaller card is easier to carry but leaves less room for definitions, diagrams, or multilingual text. Before requesting a quote, measure the intended storage location and consider whether the finished stack must fit into a pouch, box, or shipping carton.
Match card thickness and surface to classroom or retail use
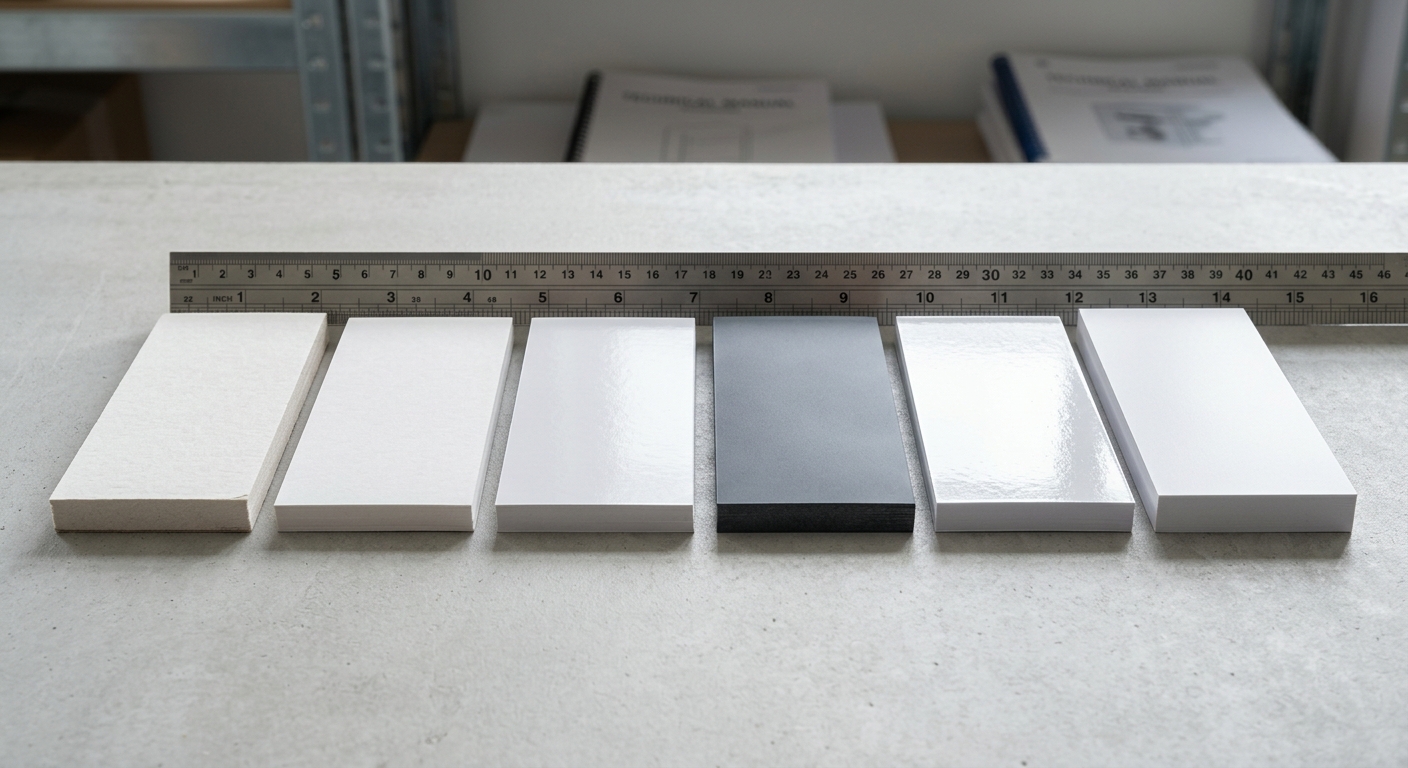
For frequently handled custom study cards, buyers often compare card stocks in approximately the 250 to 350 gsm range, but GSM means grams per square meter and does not by itself guarantee a specific stiffness. Actual caliper, fiber composition, coating, lamination, card size, and cutting method all affect the feel.
Uncoated stock has a more natural surface and is usually easier to write on, making it useful for worksheets, vocabulary practice, or cards intended for notes. Coated stock provides a smoother surface that can support sharp images and solid color. It may be a better fit for illustrated or retail-facing decks, especially when combined with protective finishing.
Ask for a stock sample or physical proof when hand feel, opacity, or writing performance matters. A very thin sheet may show more visual interference from the reverse side, while a heavier stock can increase the finished stack thickness and affect the box dimensions. For a deeper paper comparison, see the guide to coated and uncoated paper for printing.
Compare lamination and other protective finishing options
Lamination is a clear film bonded to the printed surface to add protection and change the tactile finish. Gloss lamination can make colors appear more vivid but may create glare under classroom lights. Matte lamination reduces reflections and gives a softer appearance, although it can slightly change perceived color and may show scuffing differently.
Protective film can improve resistance to handling and moisture, but it also adds caliper, affects fold or box fit, and is not automatically suitable for writing. If learners need to mark cards, specify the writing instrument and ask for a test surface. Other choices may include an unlaminated coated surface, an aqueous coating, or an uncoated card, depending on the printer’s available process and the required use.
When comparing options, test the finished surface rather than evaluating a paper swatch alone. A surface that looks attractive in a product photograph may be difficult to read in direct light or unsuitable for repeated writing.
How to Prevent Front-to-Back Alignment Problems
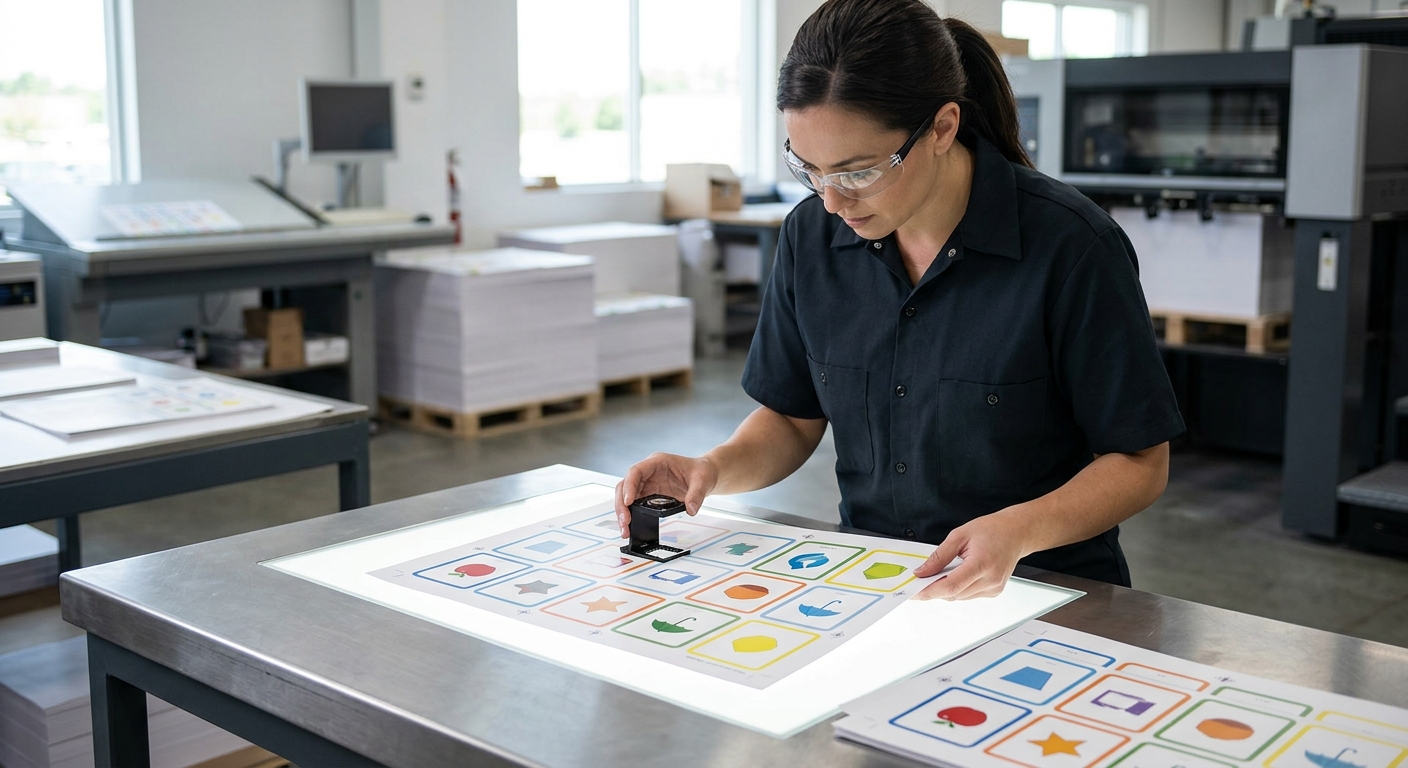
Front-to-back alignment is controlled by correct page mapping, file setup, press registration, and trimming. It cannot be reliably corrected after printing if each card has different artwork or text near the edge.
For a two-sided deck, ask the printer to confirm the imposition and flip direction before production. Imposition is the arrangement of pages on a larger press sheet before cutting. The operator must know which fronts and backs belong together and how the sheet will be turned through the press. A physical proof is especially useful when the card has borders, centered icons, arrows, or any design that makes small shifts easy to see.
Set up bleed, safe areas, and registration allowances
Extend backgrounds and images beyond the trim line so a small cutting variation does not leave a white edge. A common starting point is 3 mm, or about 0.125 inch, of bleed on each side, but the printer’s template should take priority.
Keep essential text, logos, numbers, and answer content inside a safe area away from the trim. A practical starting allowance is often 3 to 5 mm, increased when the design has a heavy border or the card is small. Avoid placing thin rules exactly on the trim line. A border can make ordinary registration or trimming variation appear much larger than it is.
- Build each card at the correct finished size plus the requested bleed.
- Keep important content inside the safe area.
- Use the same orientation and page dimensions for fronts and backs.
- Mark any special corner treatment or die-cut requirement separately.
- Review a printer-generated proof before authorizing the run.
Which Packaging Options Work for Custom Card Decks?
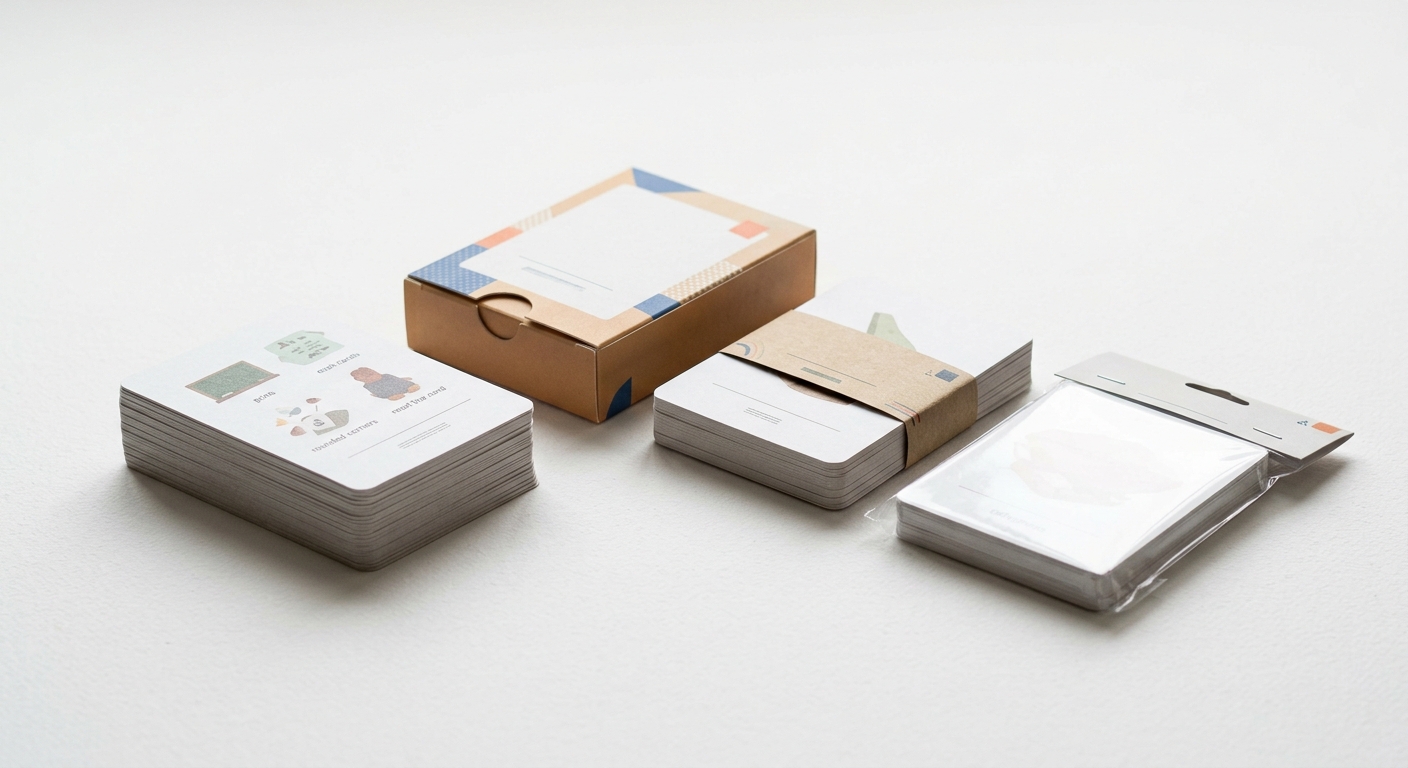
The best packaging depends on whether the deck is sold at retail, distributed in classrooms, shipped in bulk, or included in a larger training kit. Packaging must protect the cards, communicate the deck identity, and match the number of cards and finished stack thickness.
Do not finalize the box artwork before the card specification is stable. The combined thickness of the cards, lamination, inserts, and any divider determines the internal box size. A sample fit check can reveal whether cards are difficult to remove, whether the lid is loose, or whether the package needs additional protection during shipment.
Compare tuck boxes, bands, wrapped bundles, and custom packing requests
Each packaging format solves a different handling or presentation problem:
- Tuck box: A printed paperboard box offers individual-deck protection and a surface for instructions, branding, or retail information. The dieline must account for the finished card stack and closure tabs.
- Paper band: A band uses less material and can identify a deck for classroom or internal distribution. It provides less protection than a box and must be sized around the finished stack.
- Wrapped bundle: A simple wrap can group cards for bulk handling when presentation requirements are limited. Confirm how the wrap will be secured and labeled.
- Custom packing request: You may need an instruction sheet, divider, multiple decks per master carton, language separation, labels, or a kit with other printed components. Define the packing sequence and provide a visual packing diagram.
For custom card packaging, request a packaging dieline or sample dimensions before approving the final artwork. Also ask whether the quotation separates card production, packaging manufacture, assembly, and export packing so the scope is clear.
How to Proof and Inspect an Educational Card Deck
Approve a proof only after checking both content and physical behavior. A digital proof can confirm layout, text, and approximate color, but it cannot fully show final card stiffness, surface glare, edge feel, or the fit of a finished box.
For a small training deck, a digital proof may be enough for an initial content review, followed by a physical proof when stock, alignment, color, or packaging is critical. For larger educational card printing projects, establish a signed reference sample or approved proof that the production team can use during inspection. Keep a master sequence list so missing, duplicated, or swapped cards can be identified.
Check readability, color consistency, sequence, count, and edge quality
Inspect samples from the beginning, middle, and end of the production run when possible. Review the following checkpoints:
- Readability: Check small type, diacritics, foreign-language characters, contrast, illustrations, and answer content under normal classroom lighting.
- Color consistency: Compare major backgrounds, brand colors, and skin tones or diagrams against the approved reference. Different paper surfaces can change visual color.
- Sequence and count: Confirm that each deck contains the correct cards in the correct order, including instruction cards, blanks, and separators.
- Front-to-back pairing: Turn a representative sample and verify orientation, alignment, and correct answer matching.
- Edge quality: Look for rough cuts, visible chips, uneven corners, delamination, or exposed unprinted edges.
- Packaging: Confirm that the box or band closes correctly, the label matches the deck, and the packed unit is not missing components.
Record defects by card number and package unit rather than describing only a general problem. This makes corrective action easier to trace.
What Should You Include in a Flash Card Printing Quote Request?
A useful flash card printing quote request gives the manufacturer enough information to price the complete finished unit, not just the printed sheets. Include the following details:
- Finished card size, orientation, shape, and any rounded corners or special cutting.
- Number of unique cards, cards per deck, number of decks, and any separate versions or languages.
- Color treatment, such as full color on both sides, and the required front-to-back page order.
- Preferred paper or card stock, approximate GSM if known, and whether the surface must be writable.
- Finishing requirements, including matte or gloss lamination, coating, and any special surface treatment.
- Packaging format, dimensions if already defined, inserts, labels, deck assembly, and carton packing instructions.
- Print-ready files, reference PDFs, content spreadsheets, and any approved color or physical samples.
- Delivery destination, target date, shipping requirements, and whether partial shipments or separate SKUs are needed.
Ask the printer to identify assumptions in the quotation. Final MOQ, production time, pricing, and shipping depend on product specifications, quantity, finishing, and destination. For press selection, you can also compare offset and digital printing for quantity and color requirements before fixing the production method.
Lemon Printing is a factory-backed commercial printing manufacturer established in 2015 in China’s Guangzhou–Shenzhen manufacturing corridor. Its self-owned facility has more than 130 skilled workers and 8+ offset and digital presses, with prepress, printing, finishing, quality inspection, packing, and export preparation handled in-house. These are useful capabilities to discuss when your project combines card production, deck assembly, and export packing.
FAQ: Custom Flash Card Printing
The most common sourcing questions concern file delivery and the amount of packaging or assembly a printer can manage. Confirm these points during prepress and quoting rather than leaving them to production.
What file format is best for a custom flash card deck?
A print-ready PDF is usually the most practical format for a custom flash card deck because it preserves page size, fonts, images, and bleed for prepress review. Ask the printer whether a particular PDF/X standard or export preset is preferred.
Supply an editable source file only as a backup or for corrections, not as a substitute for an approved PDF. Include a reference PDF or spreadsheet showing the front-to-back sequence, card numbers, answer content, and any version differences. Confirm color mode, image resolution, fonts, bleed, safe areas, and reverse-side orientation before approval.
Can a printer package and kit flash cards for distribution?
Yes, a commercial printer may be able to collate cards, assemble decks, add instruction sheets or dividers, place decks into boxes or bands, and pack finished units into cartons. The exact scope depends on the requested packaging construction, deck count, components, labeling, and destination requirements.
Give the printer a packing diagram that shows the order of components and the quantity per finished unit. Ask how deck count, version separation, carton labels, and inspection records will be handled. Lemon Printing performs packing and export preparation in-house; confirm the exact kitting and packaging sequence during the quotation and proof stage.
FAQ
What file format is best for a custom flash card deck?
A print-ready PDF is usually the most practical format because it preserves the finished page size, fonts, images, and bleed. Confirm the printer’s preferred PDF/X setting and provide a reference PDF or spreadsheet showing front-to-back sequence, card numbers, answer content, and version differences. An editable source file can be supplied as a backup for corrections.
Can a printer package and kit flash cards for distribution?
Many commercial printers can collate cards, assemble decks, add instruction sheets or dividers, place decks into boxes or bands, and pack finished units into cartons. The exact scope depends on the packaging construction, components, quantities, labels, and destination. Provide a packing diagram and confirm the kitting sequence during quoting. Lemon Printing handles packing and export preparation in-house, subject to the agreed project specifications.
Request a Custom Flash Card Printing Quote
Send your product type, quantity, finished card size, number of cards per deck, paper or card stock, binding or finishing requirements, packaging format, delivery destination, and target date. Include the artwork or a representative sample when available. Lemon Printing can review the production scope and confirm the applicable MOQ, production time, pricing, and shipping options based on your specifications.