Table of Contents
- Key Takeaways: Protection and Decoration Are Different Jobs
- What Are Card Printing Finishes?
- Card Finishing Options Compared
- Protective Coatings and Laminations
- Decorative Foil, UV and Relief Effects
- Structural Finishes and Edge Treatments
- Matte, Gloss or Soft-Touch Lamination?
- When to Use Varnish Instead of Lamination
- Foil Stamping and Spot UV Artwork Requirements
- Minimum Detail, Knockouts and Registration Reality
- Why Finish Files Must Be Supplied Separately
- Embossing, Debossing and Die Cutting Risks
- Stock Thickness and Reverse-Side Show-Through
- Scoring Folded Cards Before Finishing
- Which Finish Fits Each Card Application?
- Proofing and Inspecting Premium Card Finishes
- Card Finish Quote Checklist
- Frequently Asked Questions
- Request a Finish-Specific Card Printing Quote
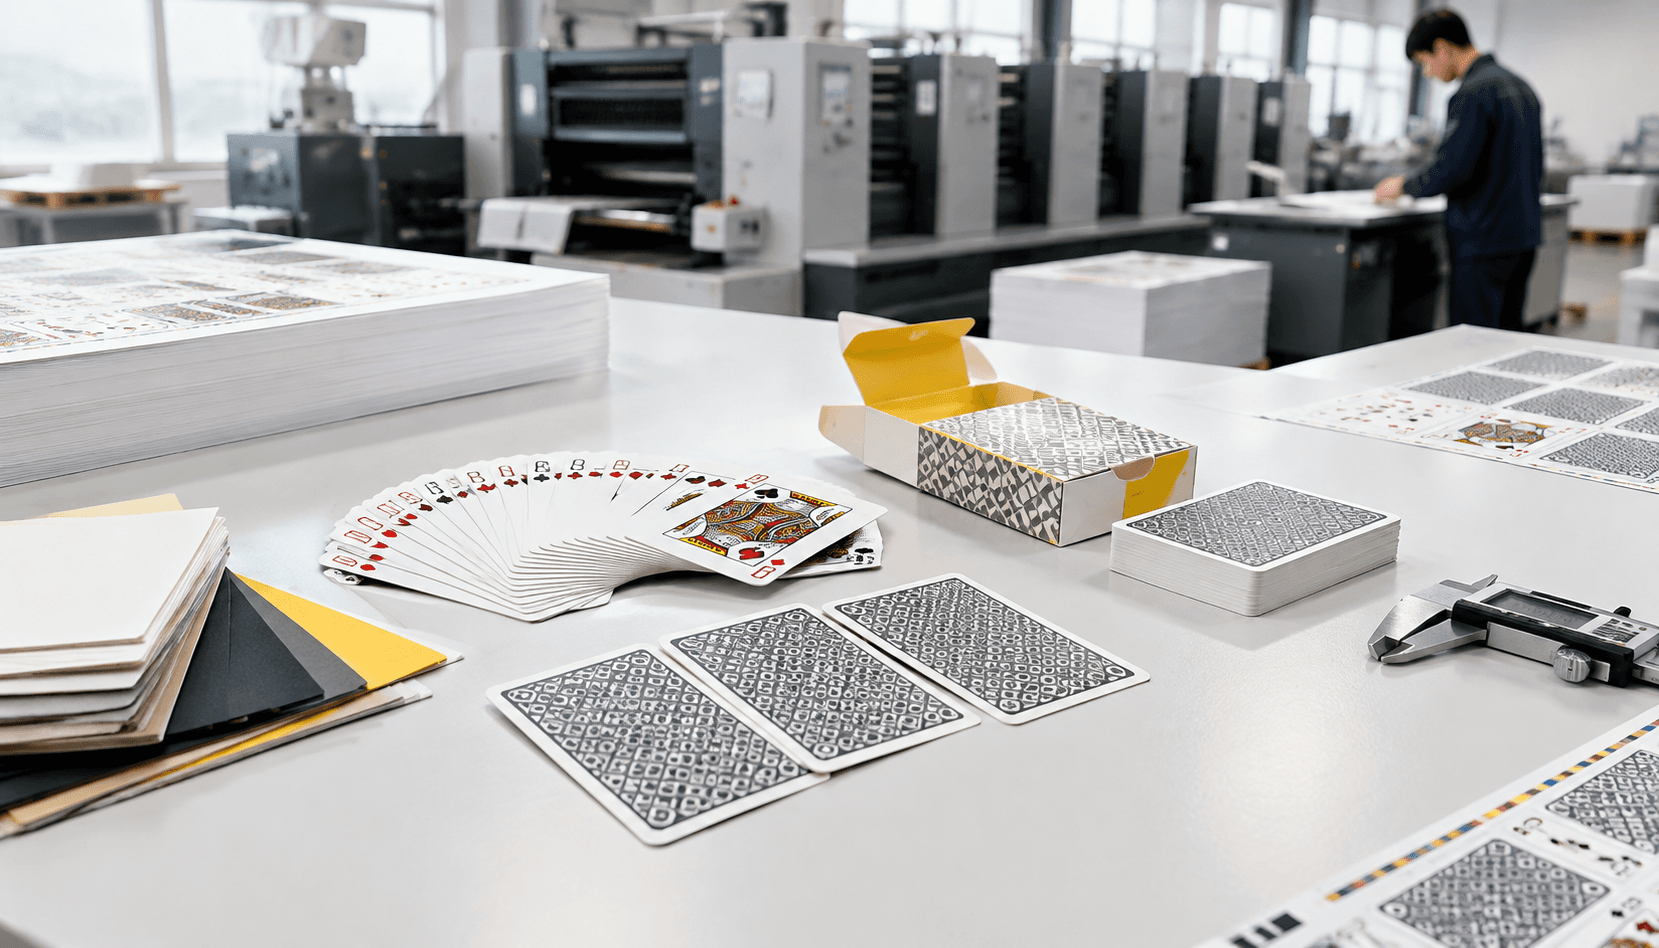
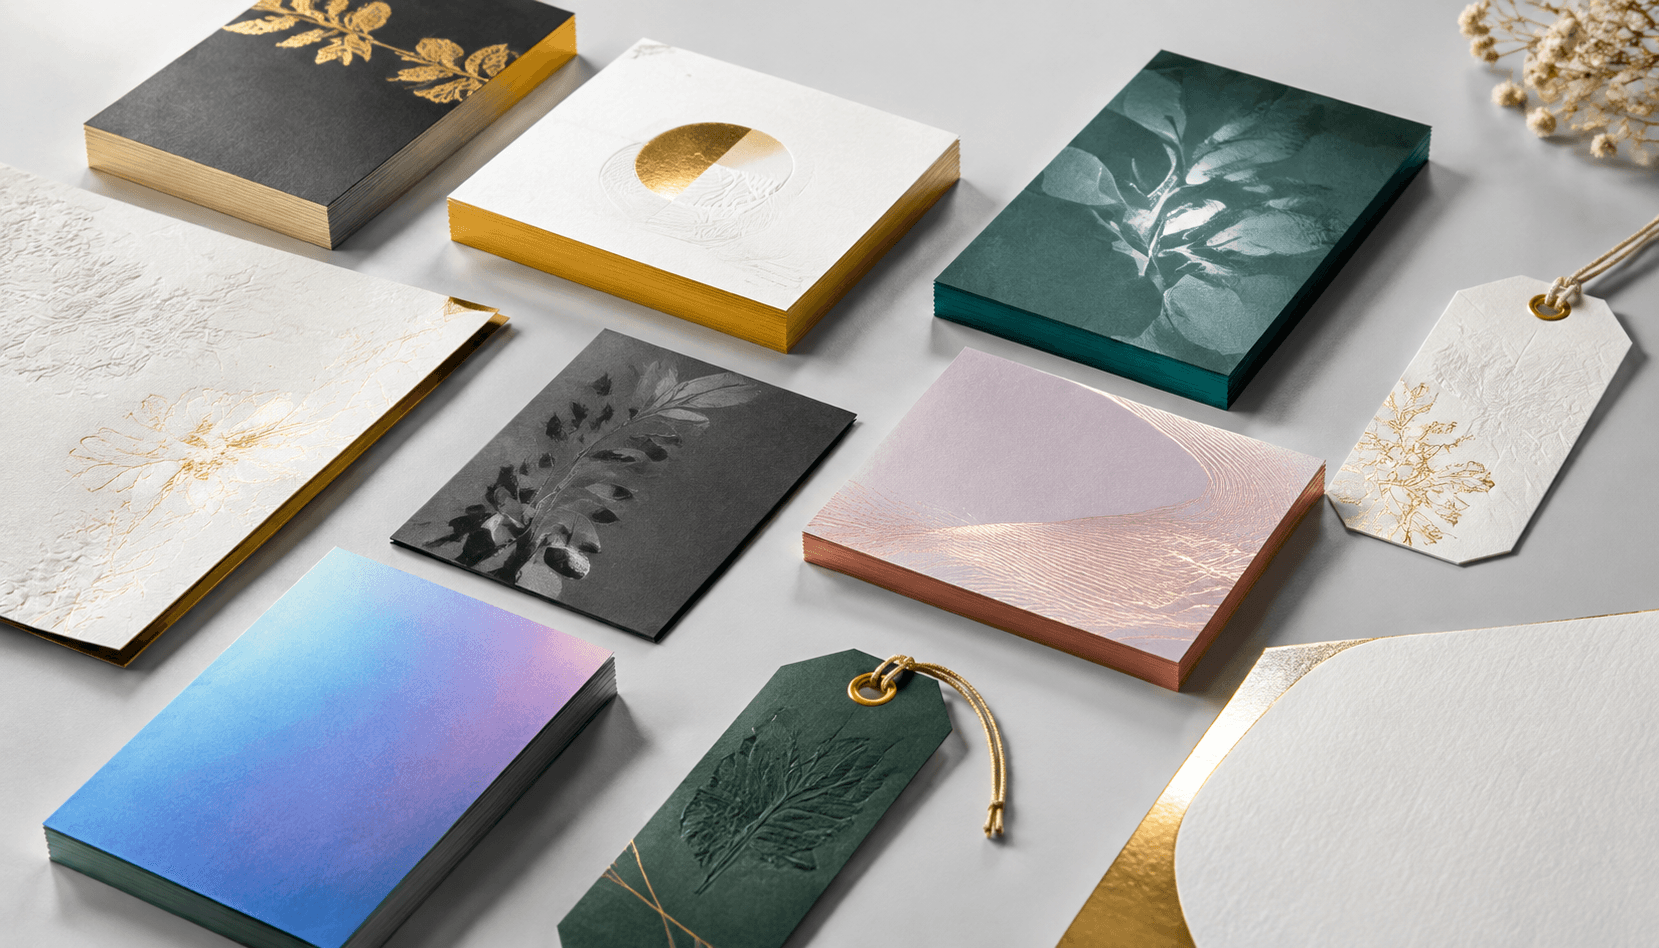
A practical comparison of protective and decorative card finishes, including lamination, varnish, foil stamping, spot UV, embossing, die cutting and edge coloring.
Key Takeaways: Protection and Decoration Are Different Jobs
Protective finishes reduce scuffing, moisture exposure or surface wear. Decorative finishes create contrast, texture or shape, but they do not automatically make a card more durable.
- Lamination provides the strongest general surface protection but can affect writing, recycling and later finishing.
- Varnish is thinner and usually more economical, although it protects less than film lamination.
- Foil, spot UV and embossing work best as controlled accents rather than coverage across every element.
- Die cutting and edge coloring depend heavily on stock construction, cutting accuracy and handling.
- Premium effects should be evaluated on a physical production sample when color, registration or tactile appearance is critical.
The most reliable specification starts with the card’s use. A disposable promotion, a handwritten appointment card and a premium membership card require different combinations.
What Are Card Printing Finishes?
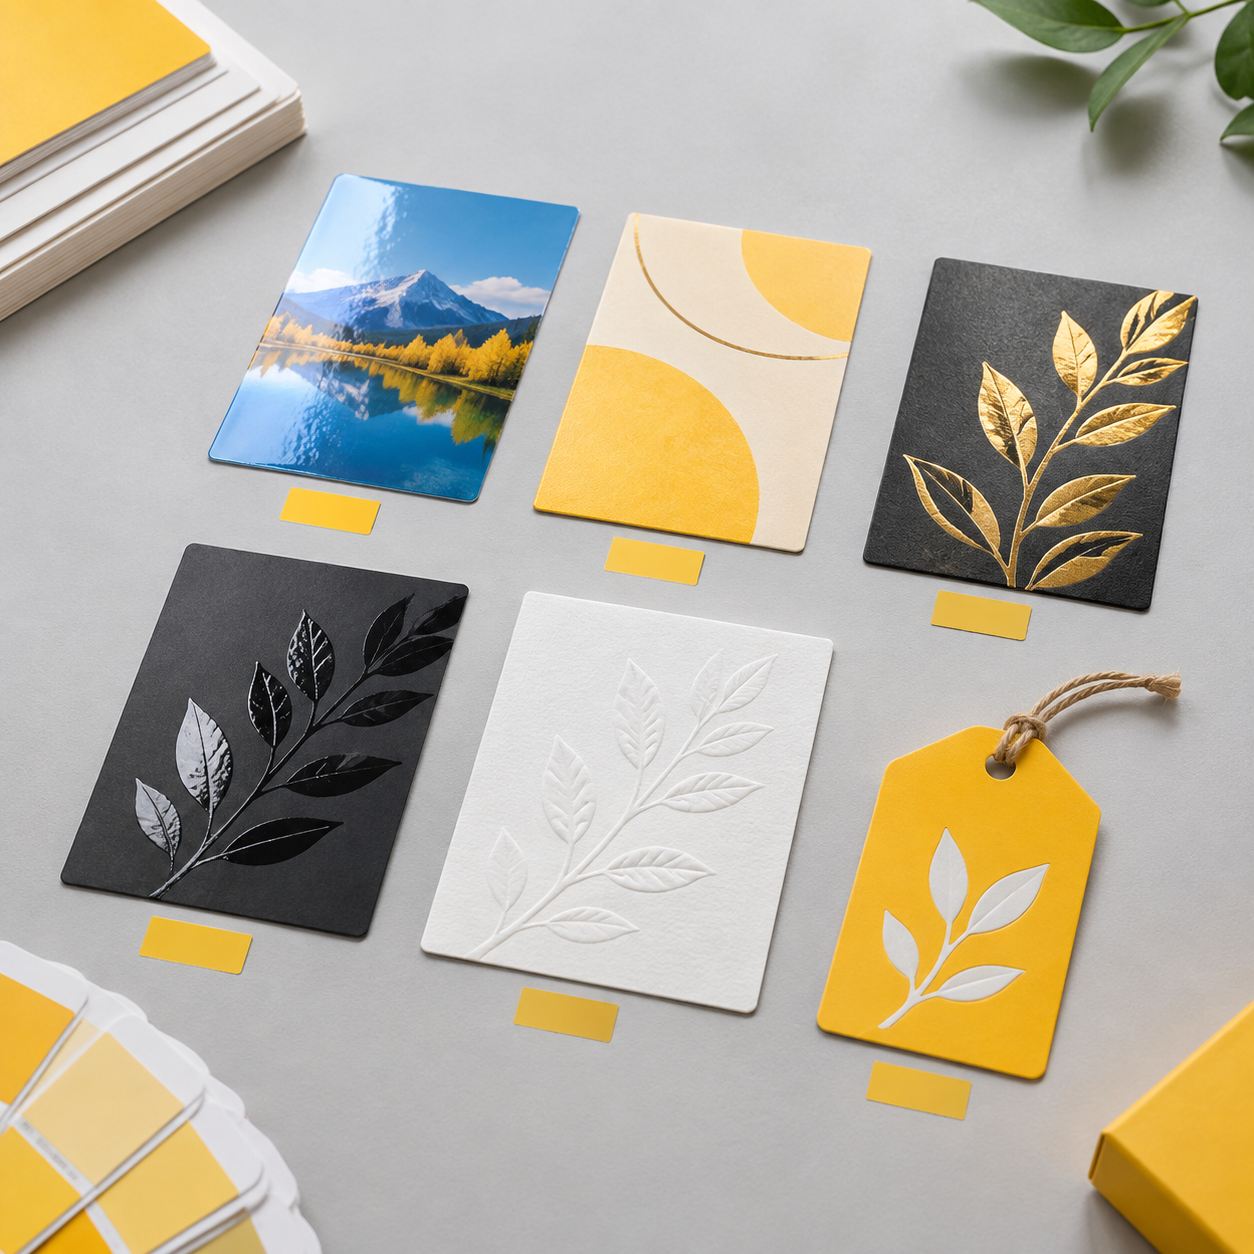
Card printing finishes are processes applied during or after printing to protect the surface, change its appearance, add texture or alter the card’s physical shape. They include coatings such as varnish, bonded films such as card lamination, decorative processes such as foil stamping and structural work such as die cutting.
A finish should not be confused with the paper itself. Uncoated, coated, textured and colored stocks establish the base surface; finishing modifies that surface. For example, soft-touch lamination can make coated card feel velvety, while blind debossing presses an image into an unprinted sheet.
Lemon Printing handles prepress, printing and finishing in-house for its custom card printing projects. Buyers should still define the intended use, because finishing sequence and compatibility vary by stock, ink coverage and card construction.
Card Finishing Options Compared
No single finish is best for every card. The useful comparison is what each process does, what it does not do and which production constraint must be checked before approval.
| Finish | Primary job | Appearance or feel | Main limitation |
|---|---|---|---|
| Gloss lamination | Surface protection | Shiny, saturated color | Glare and poor writability |
| Matte lamination | Surface protection | Low glare, smooth | Dark areas may show scuffs |
| Soft-touch lamination | Protection and tactile effect | Velvety, low sheen | Needs compatibility tests for foil or UV |
| Card varnish | Light surface sealing | Gloss, satin or matte | Less durable than film |
| Foil stamping | Metallic or pigmented accent | Reflective or opaque | Fine details can fill or break |
| Spot UV | Gloss contrast | Raised or flat gloss area | Registration is not perfectly exact |
| Embossing or debossing | Relief texture | Raised or recessed image | May mark the reverse side |
| Die cutting | Custom shape or opening | Structural differentiation | Fine projections can bend or tear |
| Edge coloring | Colored edge accent | Visible on a stacked or thick card | Thin stocks show little effect |
Combinations are possible, but each added process increases setup, spoilage risk and inspection requirements. Ask the printer to confirm the production sequence before finalizing artwork.
Protective Coatings and Laminations
Choose a protective coating according to handling frequency, exposure and the need to write or stamp on the card. Film lamination is normally more resistant to rubbing and incidental moisture than a press-applied varnish.
Lamination bonds a thin plastic film over the printed sheet before final cutting. It can also reduce cracking across heavy ink coverage, but it does not make paper waterproof. Moisture can still enter through exposed edges, holes or damaged film. Varnishes form a thinner cured layer directly over the ink and preserve more of the paper’s original feel.
Leave writing areas unlaminated or test them with the exact pen, stamp, label or thermal printer used in the field. A surface that accepts one permanent marker may reject ballpoint ink or stamp-pad ink.
Decorative Foil, UV and Relief Effects

Decorative finishes work by creating contrast against the surrounding surface. A small gloss mark on matte film or a restrained foil title is usually easier to control than a large effect crossing folds, cuts and fine type.
Foil stamping uses heat and pressure to transfer a metallic, holographic or solid-color foil through a metal die. Spot UV cards receive clear UV-cured coating only in selected areas. Embossing raises the stock, while debossing presses it inward. These processes can be combined, such as registered foil with embossing, but the tooling and alignment requirements are more demanding.
Metallic ink is not the same as foil. Metallic ink contains reflective particles and generally produces a subtler sheen; foil forms a separate, more reflective surface.
Structural Finishes and Edge Treatments
Structural finishing changes the card rather than only its surface. Common options include rounded corners, shaped die cuts, perforations, scoring, drilling, duplex mounting and edge coloring.
Edge coloring is most visible on thick, dense or duplexed cards. The color is applied after trimming, so a light face next to a dark edge may show minor variation at the boundary. Duplex mounting bonds two printed or colored sheets together, creating extra thickness and allowing different face stocks, but alignment and adhesive curing need careful control.
Rounded corners can reduce corner wear. Intricate die cuts have the opposite trade-off: narrow projections and internal corners may bend, catch during packing or expose small cutting variations.
Matte, Gloss or Soft-Touch Lamination?
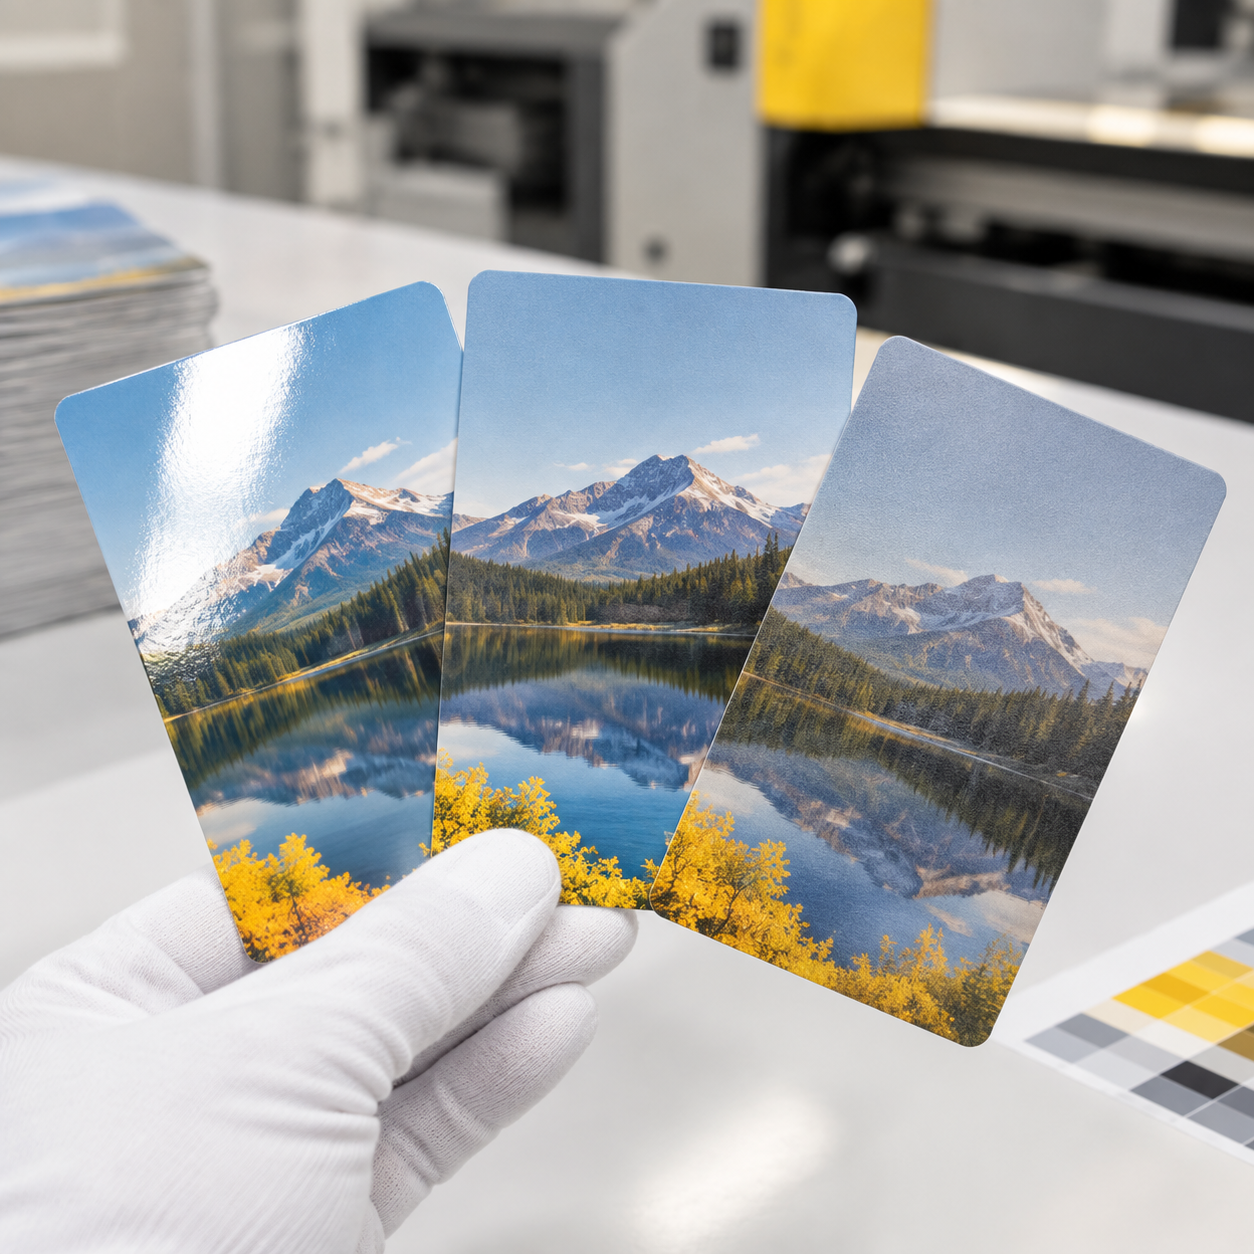
Use gloss lamination for vivid color and easy wipe-down, matte for lower glare, and soft-touch lamination when tactile presentation matters. The correct choice depends more on handling and artwork than on perceived quality.
| Lamination | Best suited to | Watch for |
|---|---|---|
| Gloss | Promotional cards, photographic postcards and colorful inserts | Reflections, fingerprints and difficult writing |
| Matte | Business cards, invitations and restrained brand designs | Scuff visibility over dark solid colors |
| Soft-touch | Premium invitations, presentation cards and luxury packaging inserts | Finger marks, higher cost and finish adhesion |
For dark matte cards, ask about an anti-scuff film and review a handled sample rather than judging only a fresh proof. For soft-touch lamination followed by foil or spot UV, the film, adhesive, foil and coating must be tested as a system. Poor compatibility can cause weak adhesion or uneven coverage.
When to Use Varnish Instead of Lamination
Use card varnish when light protection, lower material buildup and preservation of the paper feel matter more than maximum rub resistance. It is often suitable for short-life promotional pieces, inserts and cards that do not face repeated handling.
Common options include overall gloss or matte varnish, aqueous coating and UV coating. Availability depends on the press, ink system, stock and required appearance. Aqueous coating is water-based and applied across the press sheet; UV coating cures under ultraviolet light and can produce a stronger gloss. An overall coating differs from spot UV, which appears only in selected artwork areas.
Varnish is not ideal where cards will be carried daily, exposed to abrasion or handled with damp hands. It can also change the appearance of uncoated stock. Request a coated paper sample before specifying varnish for a texture-sensitive design.
Foil Stamping and Spot UV Artwork Requirements
Foil and spot UV artwork must identify exactly where the special finish is applied. Supply clean vector shapes in a separate, clearly named file or layer rather than simulating the effect with gradients in the print artwork.
- Finalize the CMYK print artwork, including bleed and safe margins.
- Create a separate finish layer using one solid spot color.
- Set intended foil or UV areas to 100% of that color, with no tints, transparency or raster shadows.
- Mark whether the finish should overprint printed artwork or sit in a knockout.
- Include a low-resolution reference PDF showing the intended composite result.
- Ask prepress to confirm minimum lines, gaps, trapping and distance from cuts or folds.
Lemon Printing’s commercial printing capabilities include premium finishing, but feasibility is reviewed against the actual design, stock and quantity.
Minimum Detail, Knockouts and Registration Reality
Foil and spot UV cannot hold every detail that prints in ink, and neither process aligns with printed artwork at mathematically perfect registration. Designs need enough line weight, spacing and trap to remain acceptable within the agreed production tolerance.
As an initial artwork check, avoid hairlines, tiny reversed type and narrow gaps. Depending on the process and substrate, a printer may suggest positive lines around 0.25–0.30 mm, wider reversed lines and gaps around 0.40 mm or more. These are working starting points, not universal limits; the die method, foil, coating viscosity and surface texture can change them.
If a foil border must follow a printed border, build a deliberate overlap or separation. A tiny misalignment is much less visible in an overlapping solid shape than along two perfectly adjacent edges.
Why Finish Files Must Be Supplied Separately
A separate finish file lets prepress generate the correct plate, screen or metal die without confusing the special effect with CMYK printing. It also makes omissions and unintended coverage easier to detect.
Use matching page dimensions, trim position and orientation across the print and finish PDFs. Name files plainly, such as Card_Front_CMYK.pdf, Card_Front_GoldFoil.pdf and Card_Front_SpotUV.pdf. Do not move crop marks or rotate one file independently.
A composite visual is useful for communication, but it should not replace the production separations. Prepress should be able to overlay every supplied file and see exact alignment before tooling is ordered.
Embossing, Debossing and Die Cutting Risks
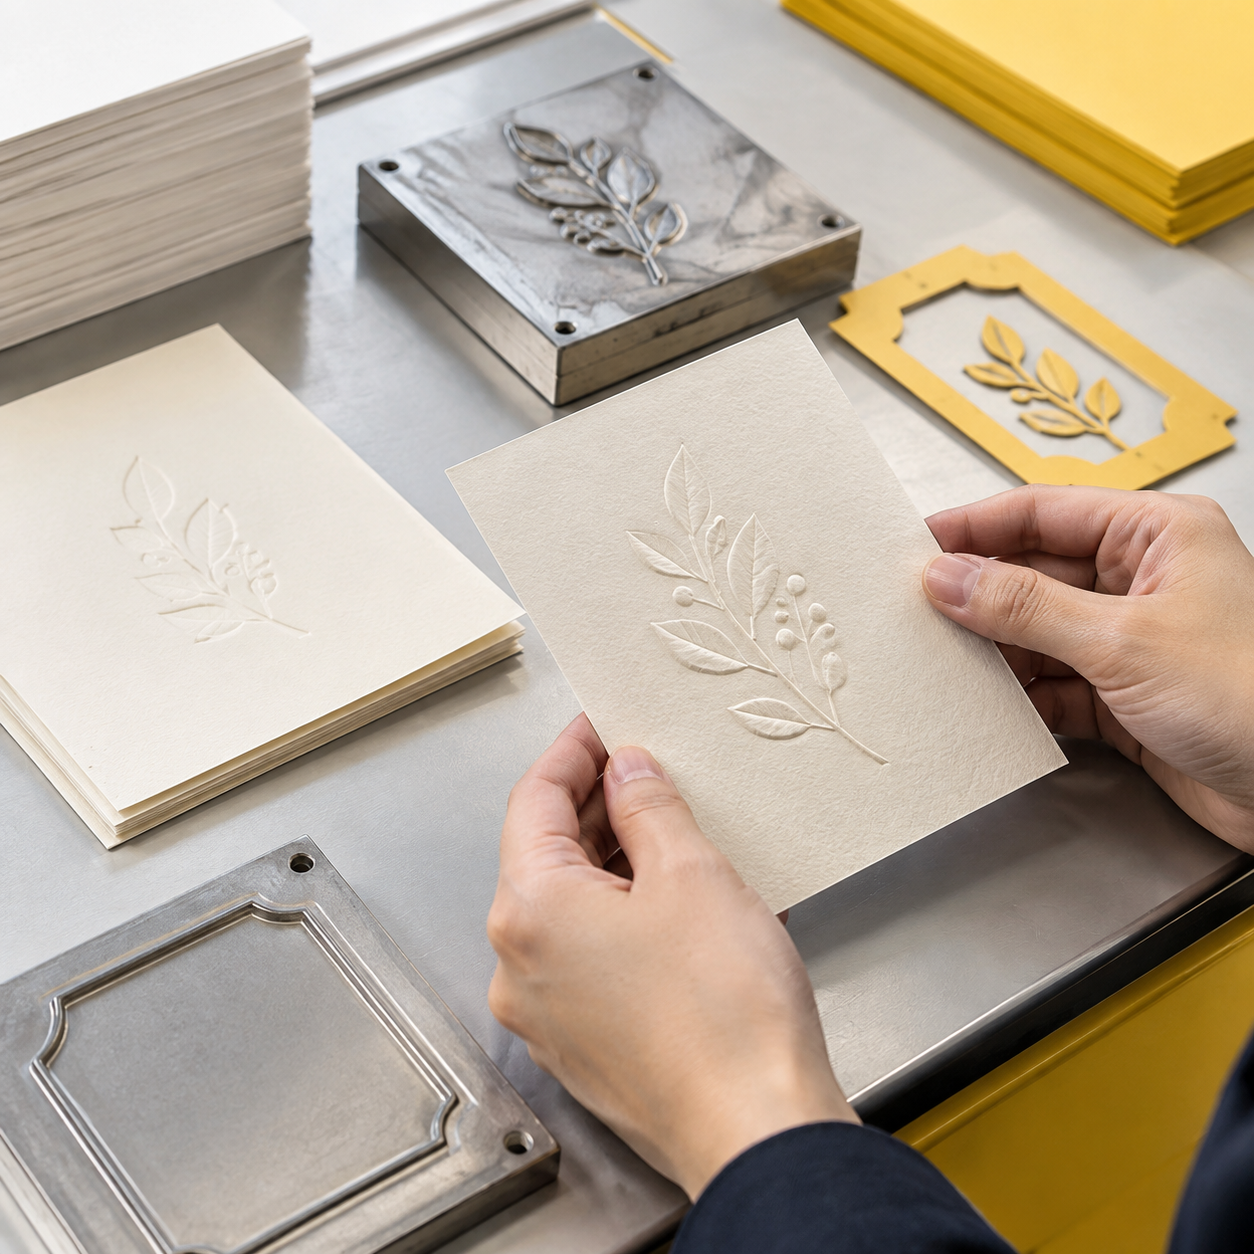
Relief and custom cutting can make a card distinctive, but they introduce physical limits that artwork alone cannot solve. Depth, corner radius, stock grain, fiber cracking and the position of printed elements all affect the result.
Embossing uses matched dies to raise the sheet, while debossing presses an image below the surface. Blind versions use no ink or foil. Die cutting uses a shaped cutting tool to create an outer profile, slot or opening. Risks include:
- cracking on printed or laminated folds and deeply formed areas;
- flattened fine details in an embossing die;
- visible reverse-side impressions;
- weak points around narrow die-cut necks or sharp internal corners;
- print-to-cut variation around very thin borders; and
- cards interlocking or shifting during packing because of irregular shapes.
Review the dieline before completing the design, especially for a shape that must fit a wallet, holder, envelope or retail fixture.
Stock Thickness and Reverse-Side Show-Through
Thicker stock can support a stronger relief effect, but thickness alone does not determine embossing quality. Fiber composition, stiffness, surface coating, grain direction and image size also affect how the sheet forms.
A deep emboss on one side normally creates some corresponding evidence on the other. Do not place small text, QR codes, signatures or critical contact details directly behind a relief area unless a physical sample proves they remain usable. Duplex construction can conceal the back of an embossed panel by mounting it to a second sheet, although this adds production steps and thickness.
Specify paper by manufacturer and grade where consistency matters, not only by GSM. Two stocks with the same basis weight can have different caliper, stiffness and embossing behavior.
Scoring Folded Cards Before Finishing
Heavy folded cards should normally be scored before folding to compress fibers along a controlled line. Scoring reduces random cracking, but it cannot compensate for an unsuitable grain direction, excessive ink buildup or a finish placed directly across the fold.
For greeting cards and folded invitations, keep foil, spot UV, embossing and critical printed details away from the score unless the effect has been tested across it. The preferred sequence may change by construction: sheets might be laminated and then scored, while some relief effects are applied after scoring. Confirm whether the score is viewed from the inside or outside and indicate the folding direction on the dieline.
Which Finish Fits Each Card Application?
Match the finish to how the card is handled, stored and used. The most elaborate combination is rarely the most practical one.
| Card application | Practical finish direction | Reason or caution |
|---|---|---|
| Business card | Matte or soft-touch lamination with restrained foil or spot UV | Protects frequently handled surfaces; leave writable areas untreated if needed |
| Appointment or loyalty card | Uncoated writing side, selective coating on the printed side | Test pens, stamps and labels before production |
| Promotional postcard | Gloss coating, aqueous coating or gloss lamination | Choose protection according to distribution and mailing conditions |
| Greeting card or invitation | Uncoated or textured stock with foil, embossing or debossing | Score folds and check reverse-side impressions |
| Membership card | Durable lamination, rounded corners and tested personalization area | Confirm barcode, signature and variable-data requirements |
| Product insert | Light varnish or no coating | Avoid unnecessary cost if handling is limited |
| Premium hang tag | Foil, embossing, die cutting or edge coloring | Confirm hole position, cord assembly and packing method |
Physical size also matters. A finish that looks restrained on a large invitation may dominate a small business card. Evaluate effects at final size, not only while zoomed in on a monitor.
Proofing and Inspecting Premium Card Finishes
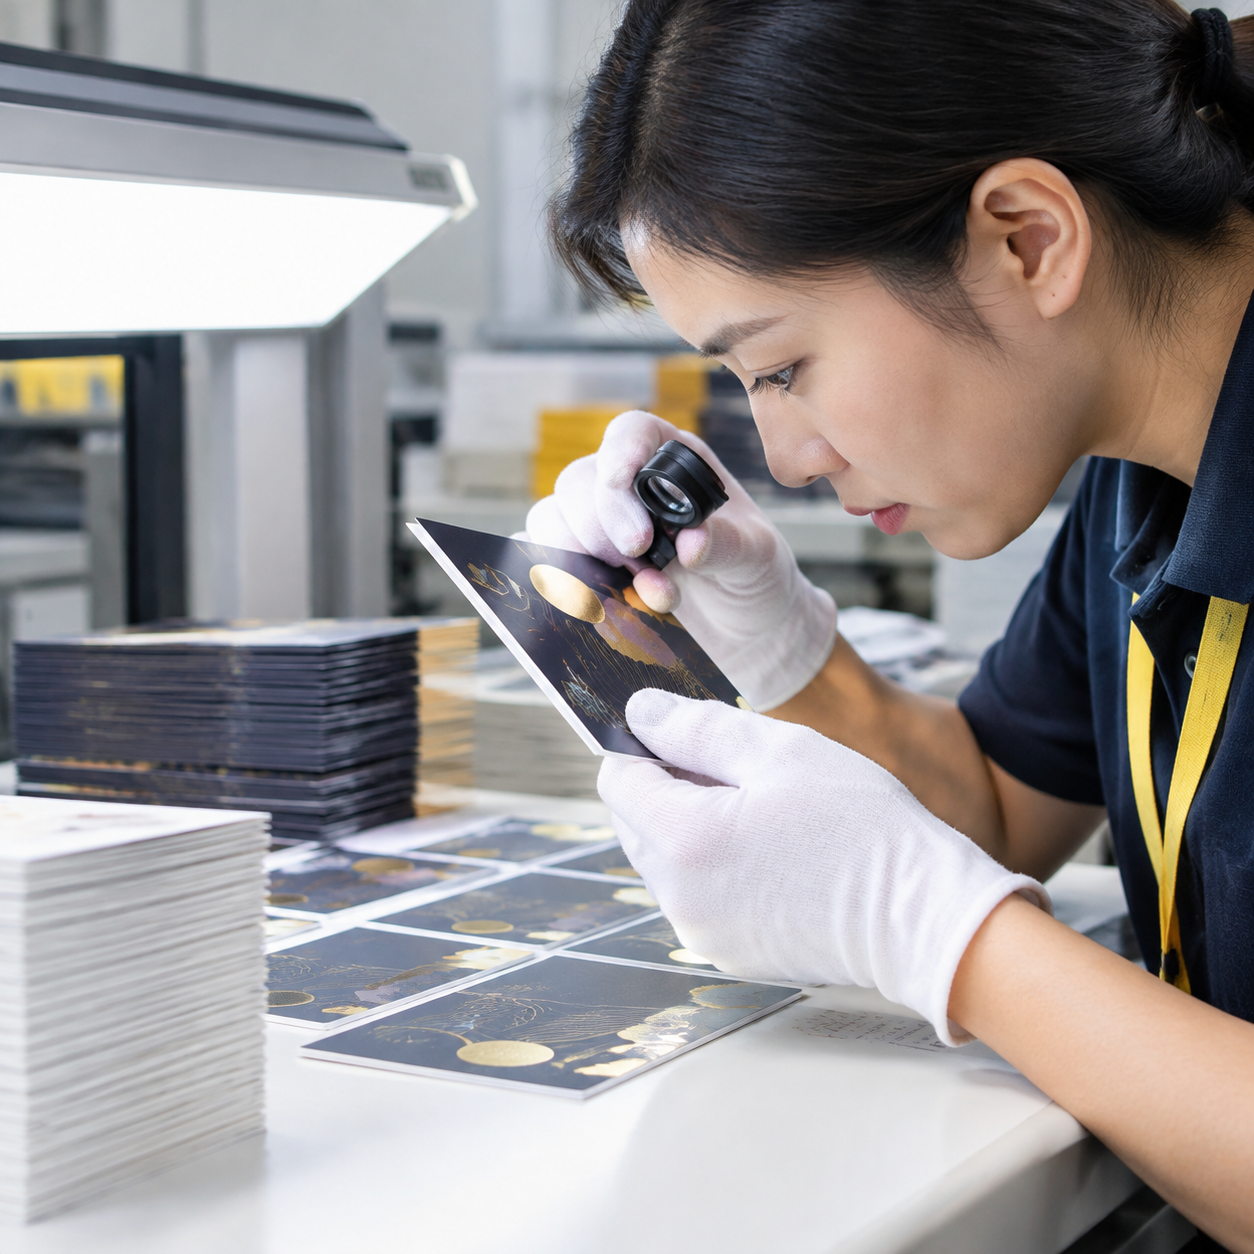
A digital PDF can approve content and finish placement, but it cannot prove foil reflectivity, embossing depth, soft-touch feel or coating adhesion. Use a physical proof or production sample when those characteristics affect acceptance.
- Prepress overlay: Compare print, foil, UV and dieline files at matching dimensions.
- Material confirmation: Approve the named paper, film and foil reference rather than a verbal color description alone.
- Tooling check: Inspect minimum details, clearances and expected relief before making dies.
- Production sample: Review actual color, registration, adhesion, scuffing, fold behavior and reverse-side marking.
- Batch inspection: Check consistent finish coverage, clean edges, cutting position, quantity and packing protection.
Lemon Printing describes its inspection approach on its printing quality control page. Buyers should put critical tolerances and acceptance criteria on the purchase specification so inspection is based on agreed requirements.
Card Finish Quote Checklist
A comparable quote requires one complete specification, not just the card size and finish name. Missing details force suppliers to make assumptions that can change price or feasibility.
- card type and intended use;
- finished and flat size, orientation and number of printed sides;
- quantity, including the number of artwork versions;
- paper grade, color, GSM and preferred thickness where relevant;
- print colors, solid brand colors and variable-data requirements;
- lamination or varnish type and whether it applies to one or both sides;
- foil color, spot UV coverage, embossing depth or die-cut shape;
- rounded-corner radius, holes, scores, perforations or edge coloring;
- writing, stamping, barcode, QR code or personalization requirements;
- proof type and required inspection criteria;
- packing units, delivery destination and target arrival date.
Include reference photographs only as visual guidance; identify the actual material and finish specification separately. Lemon Printing’s commercial printing process explains the progression from specification review and proofing through production and packing.
Final MOQ, production time, pricing and shipping depend on product specifications, quantity, finishing and destination.
Frequently Asked Questions
These answers address common production questions about card lamination, foil, spot UV, embossing and edge treatments. Exact feasibility should be confirmed using the final stock and artwork.
Request a Finish-Specific Card Printing Quote
The most useful card finish is one that supports the intended appearance without interfering with writing, folding, scanning, personalization or routine handling. Start with the application, select the protective layer if one is needed, and then add decorative effects where they create meaningful contrast.
For a specification-based recommendation, provide final dimensions, quantity, stock preference, artwork coverage, finish locations and a description of how the card will be used. Samples or reference images can help communicate the desired appearance, but final materials and process limits still need production review.
FAQ
Is spot UV the same as gloss lamination?
No. Gloss lamination covers the sheet with a clear film, usually across the full surface. Spot UV is a clear liquid coating cured only in selected areas to create contrast. Spot UV cards are often produced over matte or soft-touch lamination, subject to an adhesion test.
Can I write on a laminated card?
Some permanent markers write on certain laminated surfaces, but ballpoint pens, stamps and labels may not adhere reliably. If handwriting is required, leave an unlaminated area or specify an appropriate writable stock and test it with the exact pen or stamp.
Why does foil stamping need a separate artwork file?
The printer uses the foil separation to manufacture or output the tooling that transfers the foil. A separate solid-color vector file clearly identifies the stamped areas and allows prepress to check line weights, spacing and alignment against the CMYK artwork.
Will embossing show on the back of a card?
Usually, yes, to some degree. The visibility depends on stock thickness, fiber structure, relief depth and image size. Avoid placing critical text or codes behind the embossed area, or consider duplex mounting to conceal the reverse impression.
What stock works best for edge coloring?
Edge coloring is easiest to see on thick, dense or duplex-mounted card stock. Thin cards provide little visible edge area. The stock, face color, edge color and cutting quality should be sampled together because dark edge color can emphasize small boundary variations.
Get a Clear Quote for Your Printing Project
Send Lemon Printing your product type, intended use, quantity, finished size, paper, binding or finishing requirements, desired appearance, delivery destination and target date. Our team will review the specifications and normally respond within one business day with practical production options, pricing and a project timeline.