
Paper-engineered scenes with tested opening paths
Custom Pop-Up Book Printing
Turn flat artwork into unfolding scenes with cut, creased and assembled paper mechanisms. Design the opening action and closed stack together so the scene rises cleanly and folds back inside the book.
- V-folds, platforms and pull-tabs
- Cut, crease and attachment planning
- Closed-stack and full-spread checks
The product in use
The scene must work both open and closed.
A pop-up is a paper mechanism carried by a supporting spread. Fold geometry and attachment points control movement; printed artwork decorates that structure rather than replacing it. V-folds lift elements around a fold, while parallel mechanisms create platforms. Layer count and glue tabs add bulk even when the scene is closed. A working white prototype is therefore more informative than a rendered open view.

A pop-up is a moving assembly, not a single die-cut sheet.
- 01Supporting spread
- The spread carries the moving parts and their glue areas. Its stiffness and opening determine the travel of the mechanism.
- 02Folded mechanism
- Cut panels and creases create motion. The fold sequence must return every part inside the closed-book footprint.
- 03Attachment tabs
- Tabs secure the mechanism to the page or another moving layer. Their placement affects both lift and collision risk.
Specifications & materials
Compare the options and what they change.
Numeric dimensions and paper weights are selection references, not guaranteed Lemon production limits or a stocked-material list. The quoted specification identifies the available grade and construction.
| Engineering spec | Reference or option | Selection effect |
|---|---|---|
| Finished dimensions | 10 × 8 in (254 × 203.2 mm); 8 × 10 in (203.2 × 254 mm) | Interior trim references, not manufacturing limits. Landscape reference for wide scenes; fold clearance governs the usable stage. Portrait reference for taller compositions; mechanism layout may favor another trim. |
| Format and component count | Base spreads, moving pieces and attachment tabs listed separately | A spread count does not describe assembly complexity; supply a component schedule. |
| Mechanisms | V-fold, parallel platforms, pull tabs or layered scenes | Movement depends on geometry and assembly. Pull tabs add a separate user action. |
| Paper selection | 200, 250 or 300gsm coated-card prototype references | Stiffness supports the scene, but thicker card increases folded stack and crease stress. |
| Closed-book envelope | Maximum closed footprint and accumulated mechanism thickness | Every moving piece must retract within the agreed footprint without colliding. |
| Construction layers | Separate print, cut, crease and glue-zone layers | The approved mechanism defines fold positions and attachment geometry; flat artwork alone cannot establish motion. |
| Mechanism states | Closed, partly open and fully open; complete assembled book | Check travel, collisions and folded thickness across all spreads, not only a single open display. |
Moving card components
200/250/300gsm coated-card references for prototype comparison.
Test the crease and recovery on the actual grade; weight alone does not predict a reliable fold.
Supporting spreads and case
Mounted or reinforced spreads with a separately planned cover.
More layers add thickness and require space in the closed binding.
The supporting spread and moving pieces have different jobs. Stiffer paper may help a panel stand, yet increase folded bulk and stress at a crease. Select the assembly from a working dummy instead of specifying one universal GSM.
A decision for this product
Approve the movement before decorating it.
Closed → partly open → fully open
Review all three states. An attractive fully open scene can still have a collision or excessive folded thickness on closing.
Selection illustration · not a production template or test result
Selected direction
Elements lift around angled folds
V-fold scene · Elements lift around angled folds
Good for rising figures; the closed path must clear neighboring layers.
Parallel platform · Raised stage between attachment points
Supports layered scenery; placement controls height and closing behavior.
Pull-tab action · A sliding part controlled by the reader
Adds handling and travel limits; assess tab retention and access.
See the trim proportions.
These are publishing references, not required sizes. Compare the usable page shape before adapting an existing layout.
Selected: 10 × 8 in. Proportions only; not actual size.
Trim dimensions describe the cut page. Artwork bleed, cover overhang, tabs and modules are separate allowances.
Surface finish options
Outer covers, not moving parts
Apply decorative finishes to the outer cover only where the construction supports them. Keep glue areas, pop-up folds, sound controls and electronic openings clear; check the assembled functional sample.
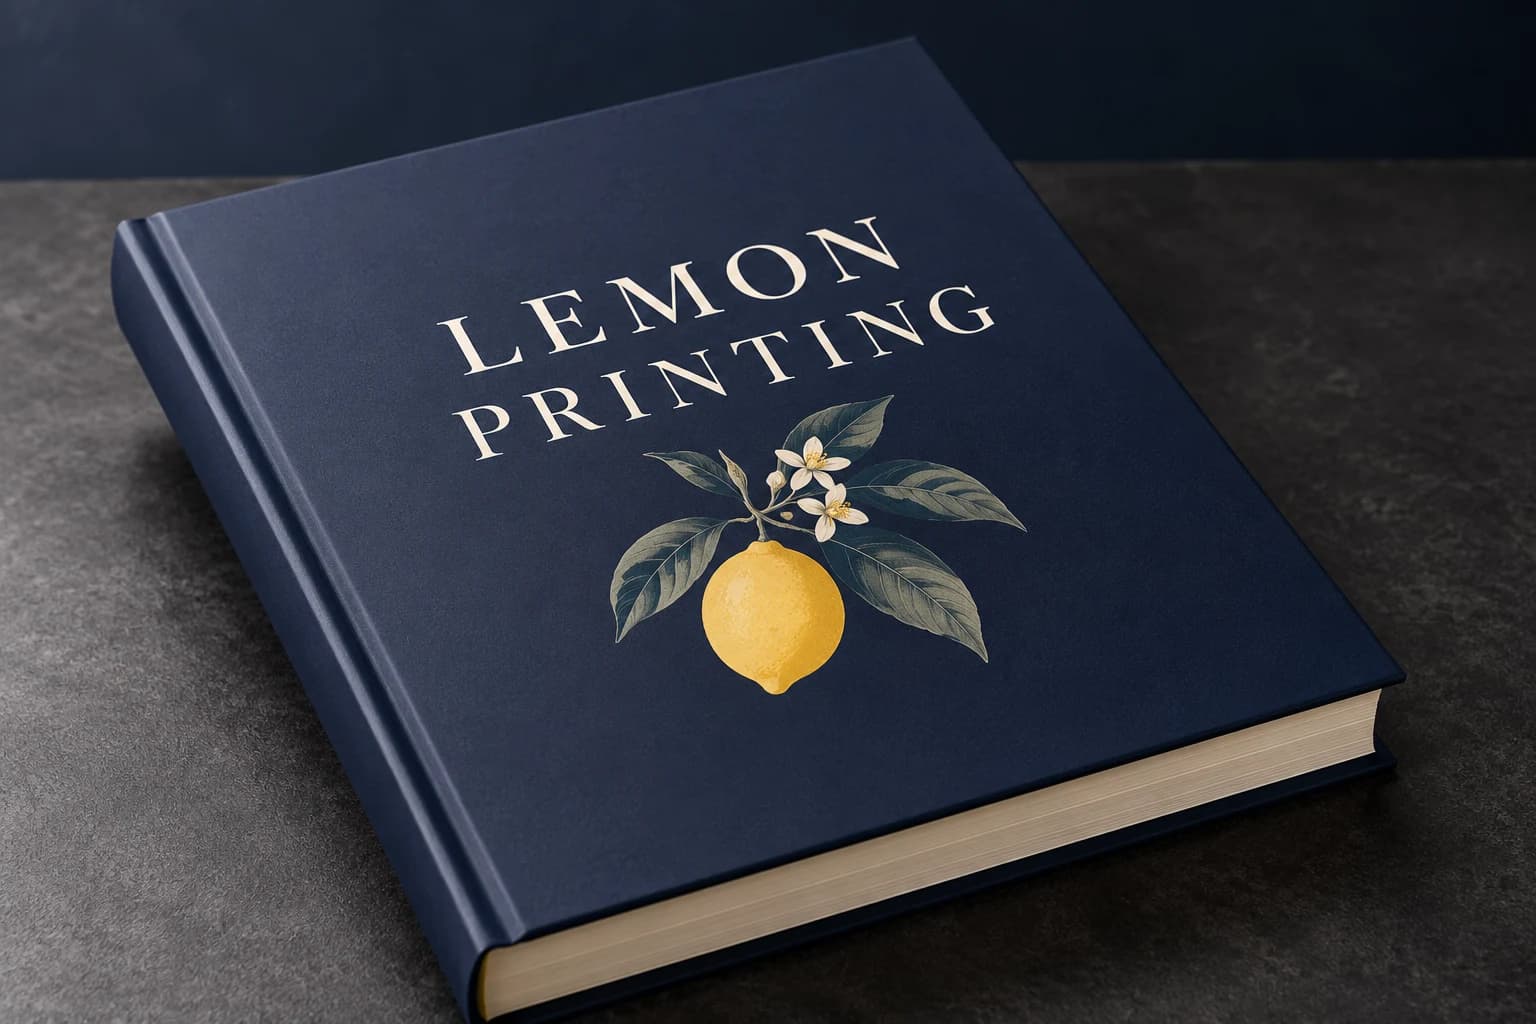
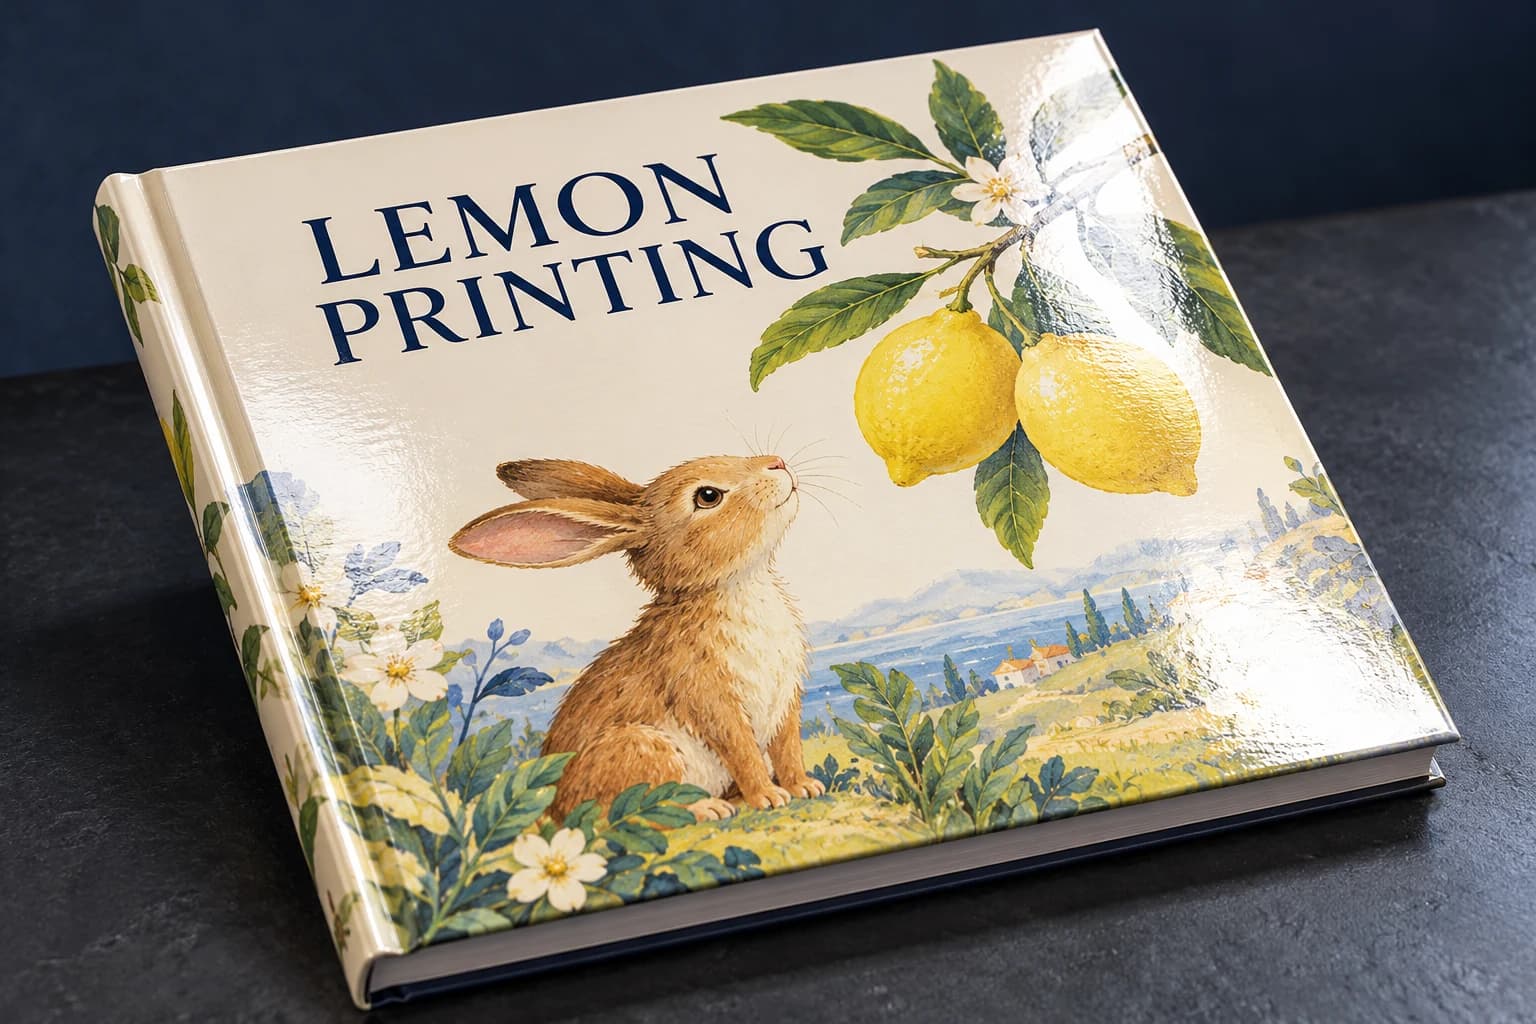
Illustrative finish samples, not photographs of this product. Final suitability follows the confirmed stock, construction and approved sample.
Compare all surface finishesHow it is made
Construction decisions with a practical effect.

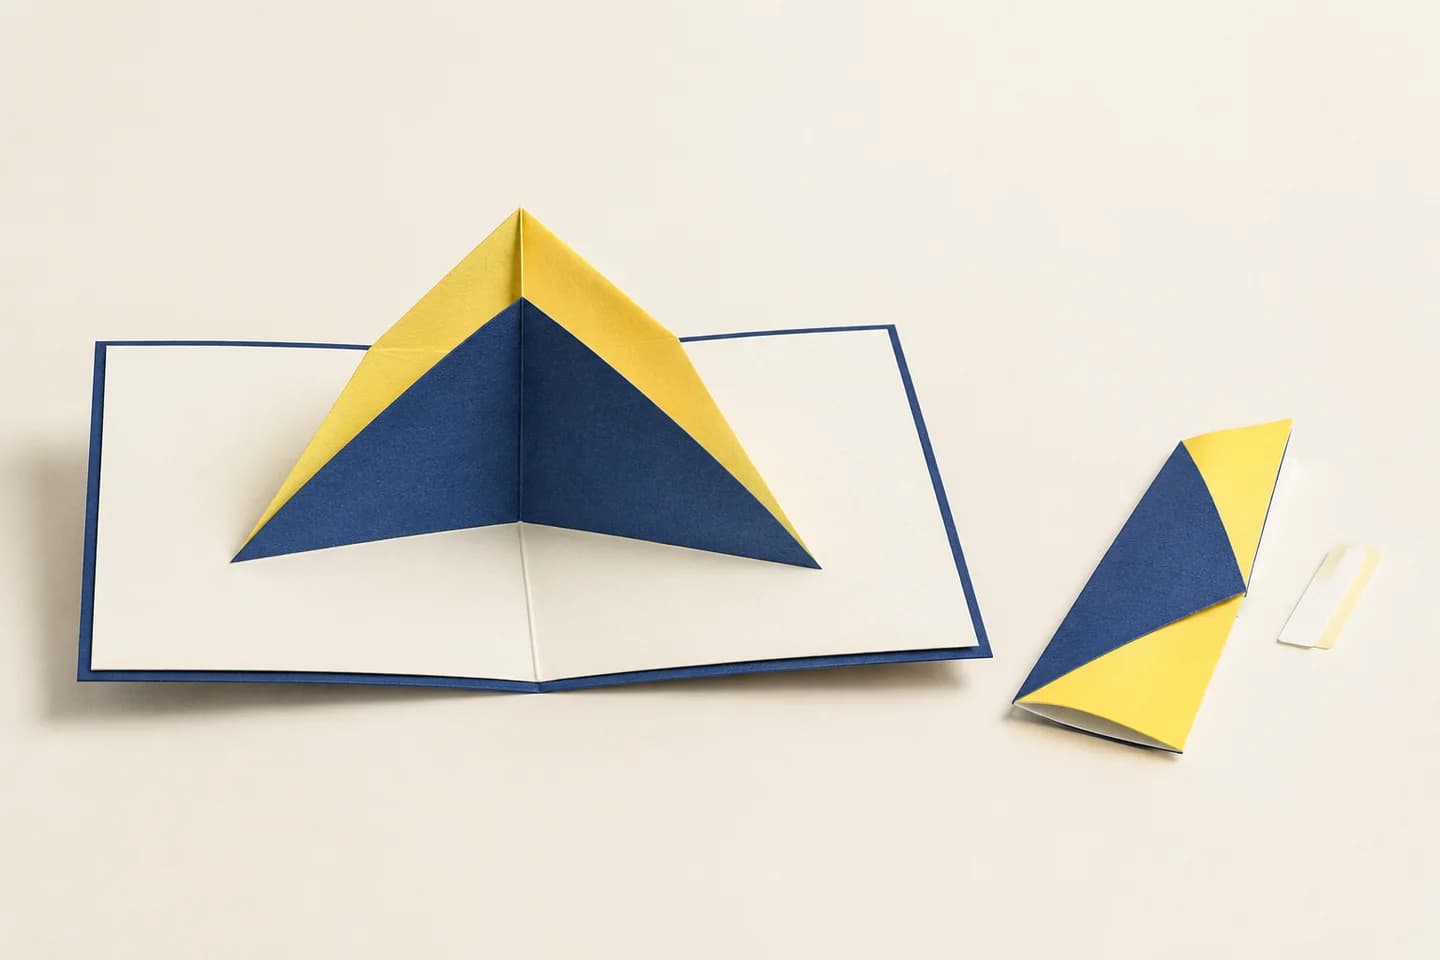
Cut, crease and fold
Cuts define component edges; creases locate controlled folds. Grain direction and crease design affect cracking and spring-back. Test the mechanism through its movement before approving printed artwork.
Positioned assembly
Glue tabs attach each component at defined points. Small placement errors can alter movement or leave the scene proud of the trim; use an assembly drawing and compare finished prototypes.
Details that change the finished book
Approve motion before adding layers and decoration.
A simple mechanism often communicates more clearly than a crowded scene. Each added panel brings another fold, attachment point and contribution to closed thickness.
Start with an unprinted mechanism
Use a paper dummy to compare V-fold, parallel platform or sliding action. Check partially open positions as well as the fully open display.
Resolve the folded stack
Identify where folded layers overlap and where glue tabs sit. Move or simplify parts that collide or protrude when the book closes.
Separate artwork from construction lines
Keep print, cut, crease and attachment information on distinct layers. Artwork should allow for folds and hidden glue areas, not just the open scene.
Match the specification to the project
Pop-Up Book configurations in use.
Illustrated story scene
Simple V-fold · a few visible layers
Use one rising focal element to support the story. Fewer interacting parts make the action easier for the reader to understand.
Architectural display
Parallel platform · planned supporting tabs
A raised stage supports a structured scene; assess its collapse path and the weight of attached pieces.
Interactive explanation
Pull-tab · defined travel and stops
A controlled sliding action can show cause and effect. Check tab access, retention and the force needed to move the mechanism.
Solve the risk before production
What can go wrong, and how to check it.
The scene will not close
Cause: Layers collide or parts travel outside the closed footprint.
Fix and check: Close the white prototype progressively, locate interference and revise folds or component positions.
A fold splits or a glue tab peels
Cause: The selected card, crease or attachment area is unsuitable for repeated movement.
Fix and check: Trial the actual material and adhesive, cycle the prototype and inspect stressed folds and tabs.
Printed pieces reveal unfinished glue areas
Cause: The artwork was laid out only for the open scene and ignores folded or hidden faces.
Fix and check: Inspect each assembly state; mask or redesign glue areas and ensure the approved print layers follow the mechanism revision.
When to choose another format
Pop-Up Book or another format?
| Alternative | Structure | Use and trade-off |
|---|---|---|
| Illustrated children’s book | Printed spreads without moving parts | Simpler assembly and less closed bulk; movement must be communicated in the artwork. |
| Board book | Mounted rigid leaves | Supports thick pages but does not by itself create a moving scene. |
Samples & order planning
Test the physical question before the bulk run.
A sample for the actual product
Start with a working white prototype. The printed assembled sample then verifies appearance, registration, closure and repeatable movement on the actual material.
Mechanism dummy
Check movement, tab access and folded clearances without print distraction.
Printed assembled pilot
Check the final artwork on moving surfaces, registration to folds and cuts, attachment areas and the complete closing sequence.
Order Details for Pop-Up Book Printing
Quantity and quotation
Quote complete finished books per title or version. Send closed trim, number of spreads, mechanism drawings or a prototype, component count, quantity, intended age group and market. Include cover construction and delivery destination.
Sample scope and schedule
Free samples are available, with preparation completed within 15 days. Confirm which materials, finishes and construction the sample represents. Courier arrangements and transit time are separate. The quotation records bulk production timing and the minimum quantity for your configuration.
Packing and delivery
Support the closed book against crushing without forcing the mechanism stack. Specify any protective sleeve or box as a separate component.
- 01
Provide a spread map with part IDs and intended movement.
- 02
Separate cut lines, crease lines and glue areas from CMYK artwork.
- 03
Keep graphics clear of hidden glue tabs and verify the closed trim envelope.
- 04
Use 300ppi artwork at final size; bleed is defined for each cut component.
Product questions
Details worth settling before ordering.
Can a 3D rendering approve the mechanism?
It can explain appearance, but it cannot establish fold recovery, closing interference or glue-tab behavior. Approve a working physical prototype.
What must a mechanism drawing include?
Separate cut, crease and glue areas, identify each part, and show attachment positions and assembly sequence. Keep these guides out of the printed artwork.
Are all pop-up books ordinary children’s books?
Do not assume that classification. Moving pieces, age grading and destination can affect the product assessment; establish the applicable scope for the finished design.
Should pop-up dielines be designed before illustrations?
The mechanism should be established before final print placement. Illustration can guide the concept, but cuts, creases, tabs and the closing path define the usable artwork surfaces. Update every affected print layer when the engineering changes.
Can every spread use the same page thickness?
Not automatically. A heavily layered mechanism adds folded thickness and leverage that a simpler spread may not have. Evaluate the supporting stock and complete closed stack on an assembled dummy.
Your pop-up book project
Send a brief that can become a specification.
Send closed trim, number of spreads, mechanism drawings or a prototype, component count, quantity, intended age group and market. Include cover construction and delivery destination.
Related formats & guidance